Just started my new gown. This project began when I found some uber cheap pink sparkly chiffon at Joann Fabric,, & ended up with a trip to Spandex House in New York City where I bought some purple sequined fabric. I only have about 2 weeks to make this dress before my next competition, so wish me luck!
Just as an aside, my serger croaked, so these directions all show sewing seams, then trimming them before binding the seam with a zig-zag stitch. If you own a serger then you can do it all in one step.

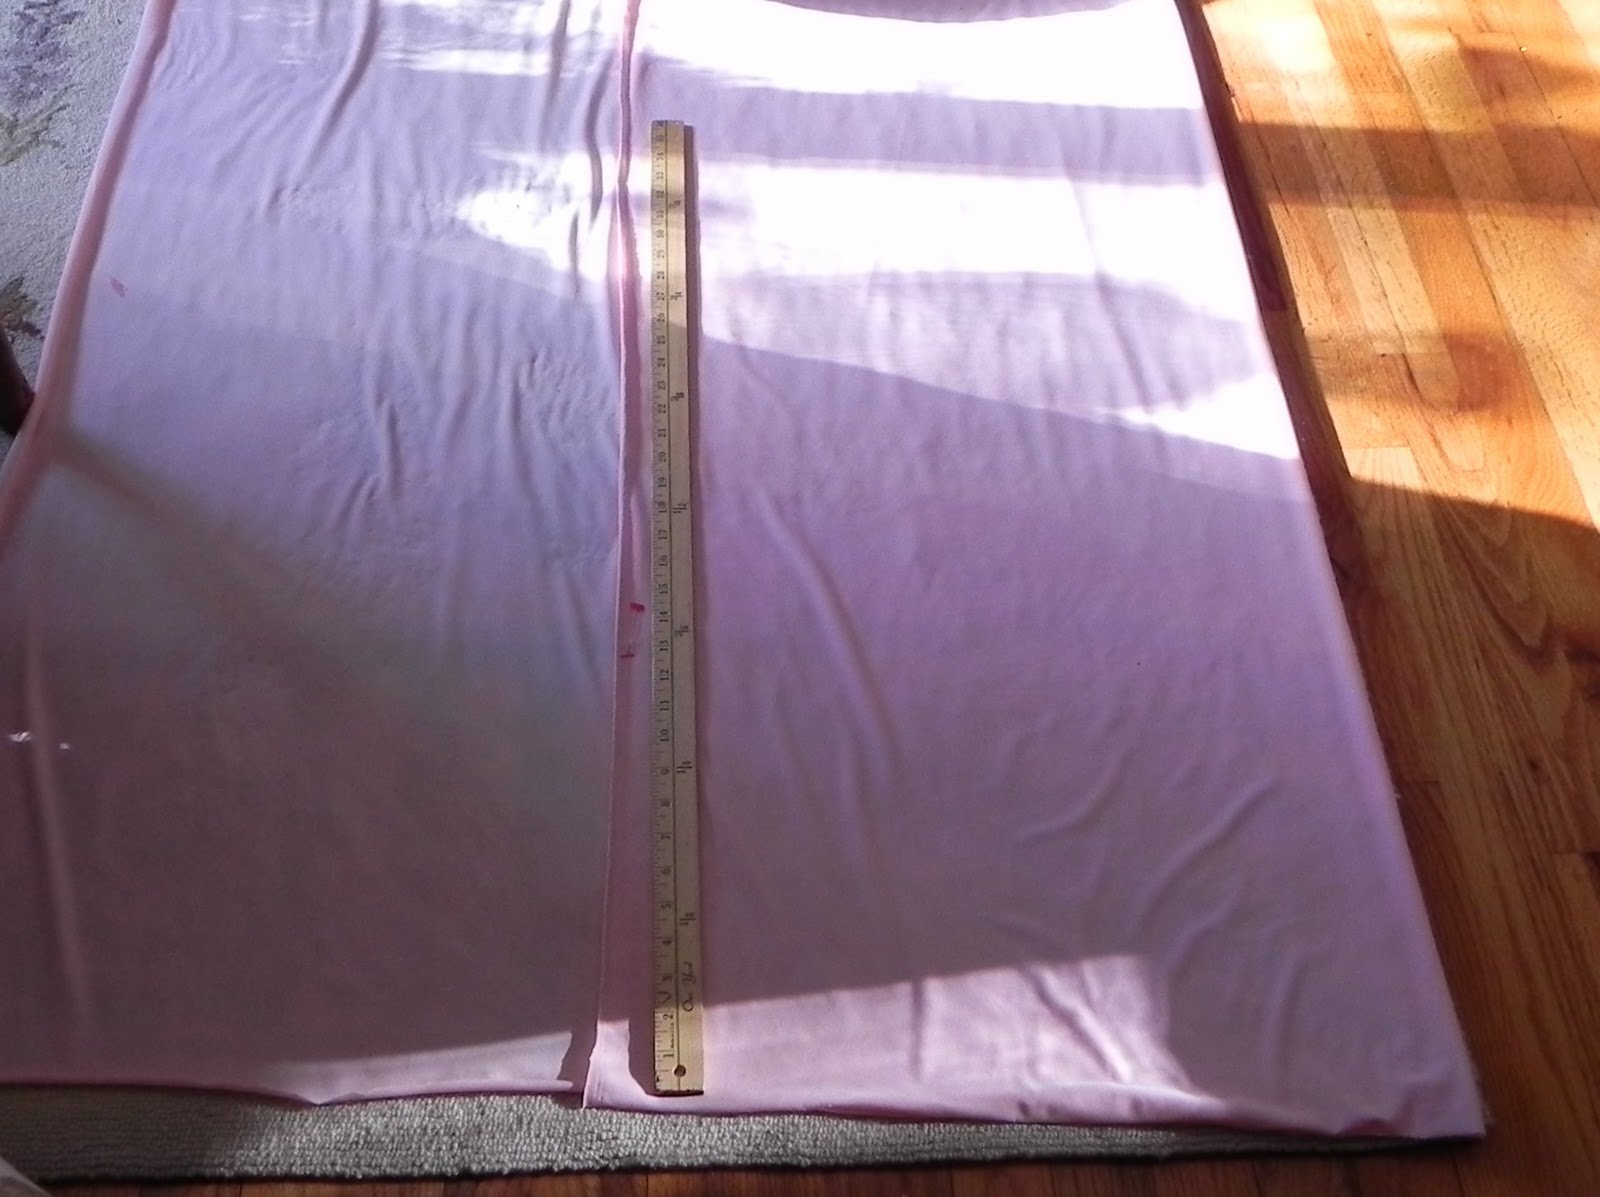
1) Cut 2 pieces of fabric that are about shoulder width and a little longer than the distance from your shoulder to crotch. Mine is around 30 inches long. IMPORTANT If you have 2-way stretch fabric, make sure that they stretch will go around the body. Even if it is 4-way stretch, sometimes it stretches in one direction more than the other, so make sure the stretchier part is going around the body

2) With the “right sides” of the fabric together (even spandex has a right side, or just one you prefer) pin the shoulders, leaving just enough room at the center for your head to fit through. Don’t forget to make the shoulders slope slightly along the natural body line.
3) Pin the sides leaving enough for your arms to fit through.
4) Baste the seams where you have pinned.
5) Now comes the fun part – leaving the garment inside-out, try it on and start pinning. Pin where it needs to be narrow at the waist and where it needs to be at the underarm. Keep pinning (be careful not to stick yourself) until you seem to have a good fit.
6) Remove the garment and use a ruler to adjust the pins so that they are placed evenly. Baste.
7) Repeat steps #5 and #6 until you have a good fit.
8) Because the bodysuit will be attached it to the dress and you will be stepping into in through the neck (unless you want to try making a snap crotch), we now need to widen the neck hole and make sure that your hips will fit through the waist. And better to do it at the basting stage! Put some thought into how the final neckline will be cut, because the dress and bodysuit need to be cut exactly the same. Mine is going to be a shallow V in the front and a deep V in the back, but I am only going to cut the minimum amount to be able to get my bum through. So carefully cur the neck hole a little larger, & keep testing it until it’s just large enough. Adjust the waist if you can fit through.

9) Stitch the seams (using a stretch-type needle) with a very long stitch and stretch the fabric a little as you go. If the seams are too tight the threads are likely to break if they get stretched. Be sure to sew the shoulder seams from the neck outward, and the side seams from the top down.
10) Trim the seam allowance to about 1/4 inch, then bind the seam with a zig-zag stitch.

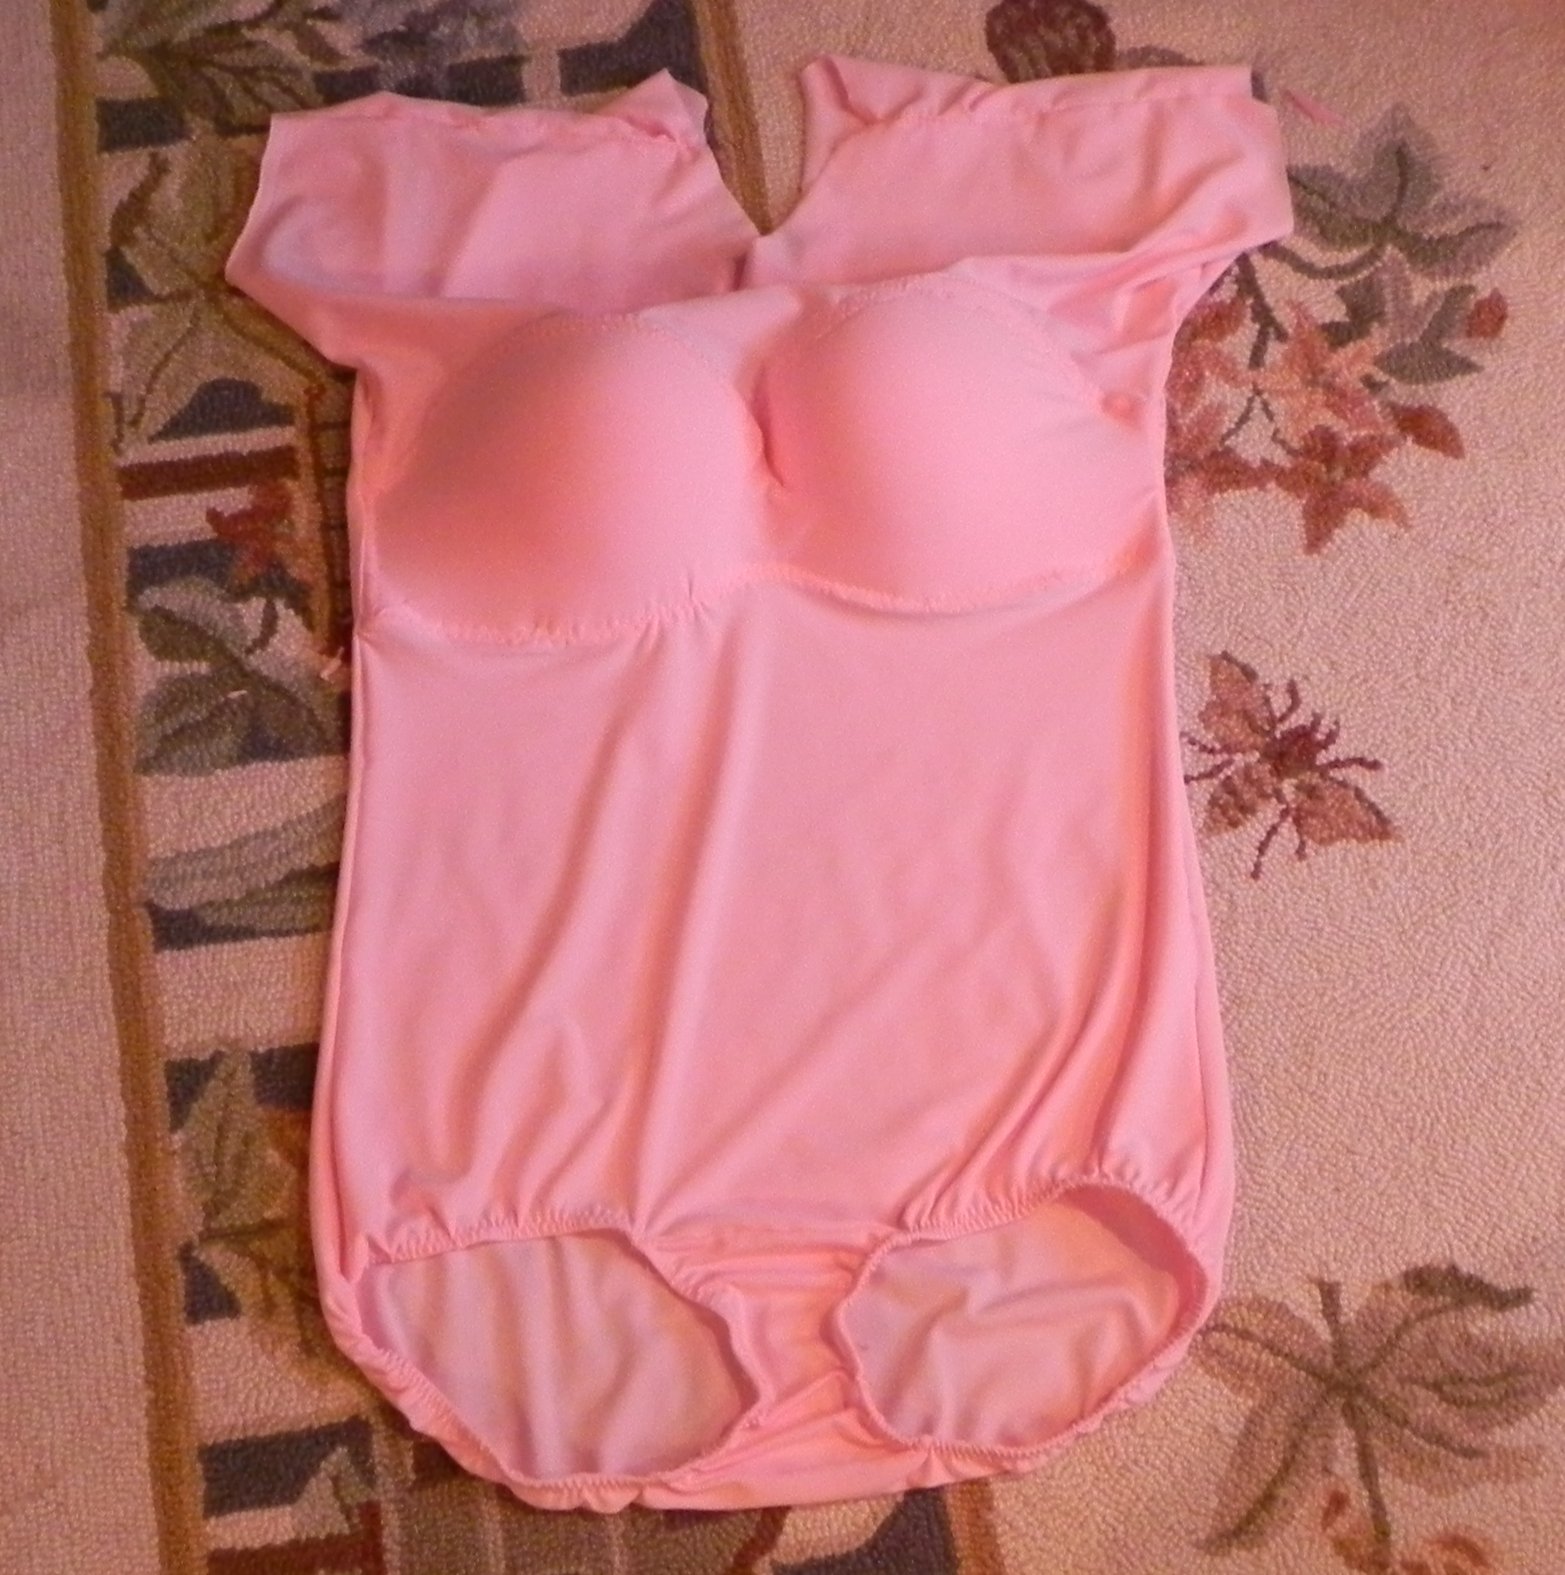
11) Now it’s time to put in the bra. I tried using the sew-in cups for making bathing suits, and I just couldn’t get the right fit. So I started buying inexpensive strapless bras from Walmart and removing the boning from the sides. They have nice structured cups (you don’t want a soft cup), and have the added bonus of a rubberized band that sort of sticks to you and doesn’t have any straps to cut off. For some dumb reason this time I bought a regular bra because I wanted pink. In retrospect since it won’;t show through and I;’m the only one who will ever see the inside, who cares? Not only doesn’t it have the rubberized bad (so I can feel it shifting), but the entire thing is constructed from some sort of foam material that was a nightmare to sew through.
Anyway, wear the bra as you normally would, and put on the bodysuit right-side-to. Without stabbing yourself (not easy!) pin the bra to the bodysuit. On the sides be sure that the pins are to the front of the seam & not the back (because later we will stitch the bra band into the bodysuit seam).
12) Unhook the bra & remove the bodysuit. Baste the bra in. If there are straps, now is the time to cut those off, then use a zig-zag stitch to attach it to the bodysuit. Depending on the fabric the bra is made of, the stretch-type needle may or may not work. If the thread starts to break or the bobbin thread bunches up, try using a sharp-type needle.

13) Trim off band on either side so that it comes to the edge of the seam allowance.
14) Stitch over the band on either side along the existing seam (return to a stretch-type needle)
15) Try it back on to see if it’s snug enough so the girls won’t slide out the bottom. If necessary, baste it a little tighter and restitch.
16) Bind the seam with a zig-zag stitch.

17) Cut a piece of fabric for the crotch. You can use a pair of panties as a template.
18) Put on the bodysuit right-side-to, pull down the back so it just cups under your butt, and place a pin there to mark the spot

19) Remove the bodysuit and use a ruler to get the pin centered on the back
20) Mark the center of the crotch
21) Place the crotch onto the back, right sides together, just over the pin and baste.
22) Stitch a straight seam over the baste line

23) Cut a notch out at the seam line for your seam allowance (we’ll trim the legs later) and bind the seam with a zigzag stitch
24) Put the bodysuit back on, pull the crotch forward between your legs, and put a pin to mark where it needs to be stitched
25) Remove the bodysuit, turn it inside-out, and center, pin and baste the crotch front to the bodysuit front. Try it on again to make sure it’s in the right place.
26) Repeat steps #22 and #23 for the crotch front.
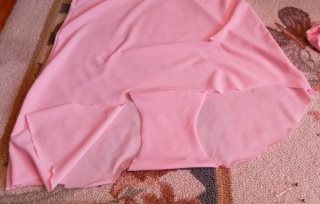
27) Try on the bodysuit and mark with pins where to trim the leg holes. Remove and trim both legs

28) Put a piece of 1/4″ elastic around your upper thigh. Adjust until snug, and pin. Do the same for the other thigh. In case your 2 thighs are different sizes, mark them so you can tell the right from the left.
29) Zig-zag the elastic loops closed. You may need to use a needle other than the stretch-type needle.

30) Pin one elastic into the inside of one leg hole.

31) To make the pinning easier, imaging a clock face on the leg hole and on the elastic band. Pin 12 o’clock to 12 o’clock, then 6 o’clock to 6’oclock. Then continue alternating opposite sides to keep it even.
32) Baste the elastic to the leg. To make this easier, I actually put my leg through the elastic so that I can pull it up and get enough tension on it that the fabric lays smoothly on the elastic between the pins.

33) Turn the elastic under once, and pin again using the same pinning method. Zig-zag stitch the leg. Only pull the elastic tight enough to smooth the fabric over it. If you pull it too tight you can stitch the elasticity out of it. Repeat with the other leg.

34) OK, we’re as far as we can get with the bodysuit. Time to start the dress.
Read Full Post »
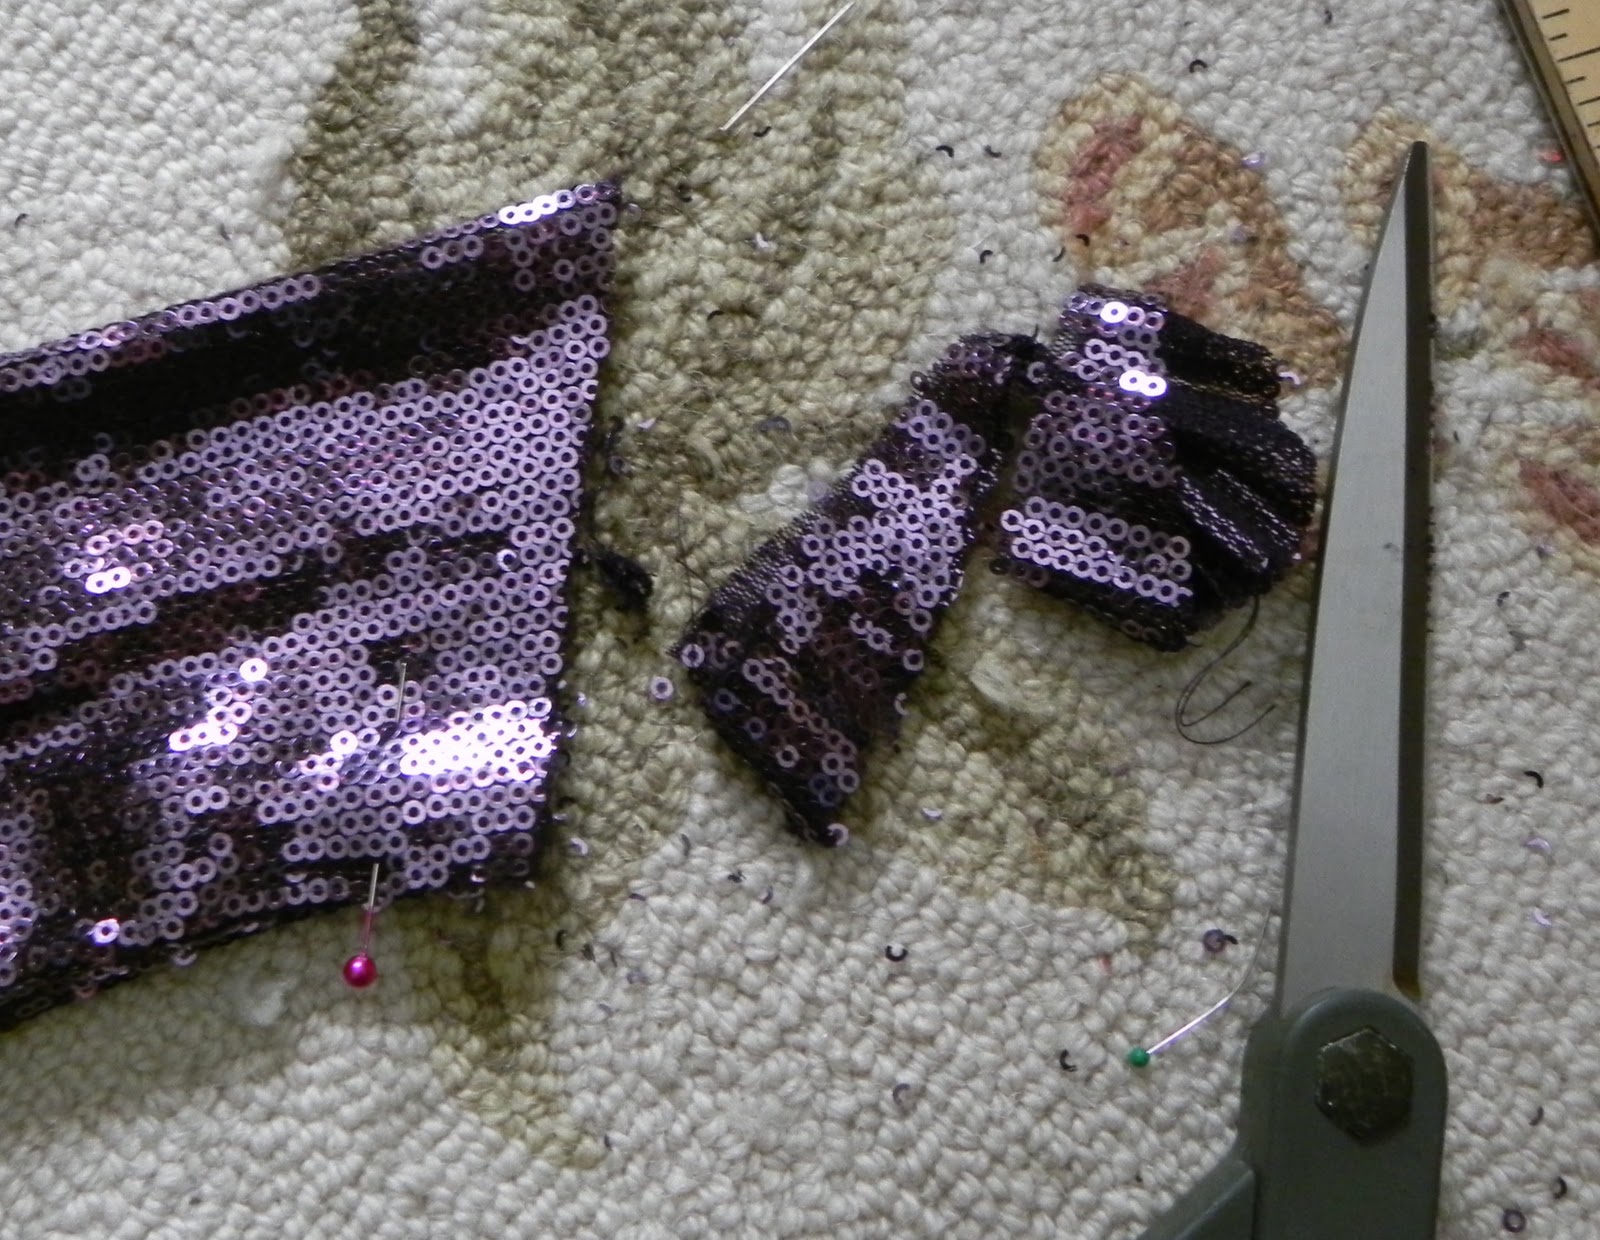
 This picture is similar to the purple sequined fabric that I used. This one worked great, because the small sequins lay very flat against the mesh that they are sewn to:
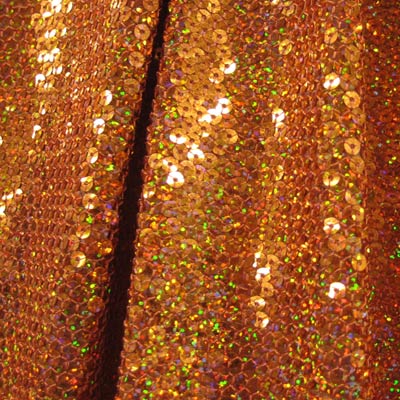 This picture is similar to the peach sequined fabric that I used on the dress with the peacock feathers: